How to Break In a New AR-15 Barrel
By AR-15 Outfitters · April 10, 2026
AR15 Outfitters may earn a commission on purchases made through links in this guide. This does not affect pricing or our recommendations.
Breaking in a new AR-15 barrel remains one of the most debated topics in the shooting community. Some shooters swear by elaborate barrel break-in procedures, while others fire thousands of rounds without any special process. The truth lies somewhere in between: a proper break-in process can help smooth bore imperfections and potentially improve accuracy, though modern manufacturing has made it less critical than in decades past.
This guide covers the complete barrel break-in process, from understanding why it matters to executing a proven procedure that balances effectiveness with practicality. Whether you’ve just installed a match-grade barrel or picked up a complete rifle, these steps will help you maximize your barrel’s potential.
Understanding Barrel Break-In: What Actually Happens
When manufacturers machine a rifle barrel, the rifling process leaves microscopic tool marks and imperfections in the bore. These tiny ridges and valleys, typically measuring 0.0001 to 0.0003 inches in height, can trap copper fouling from bullet jackets. During the break-in process, the first bullets essentially lap these imperfections smooth, creating a more uniform bore surface.
Modern CNC machines and button-rifled barrels have significantly improved bore quality compared to older manufacturing methods. Premium barrel makers often hand-lap their bores before shipping, reducing the need for extensive break-in. However, even quality barrels benefit from a basic procedure to condition the bore and establish a baseline for cleaning.
Tools and Materials Needed
Before starting your barrel break-in, gather these essential items:
- One-piece cleaning rod (36 inches for 20-inch barrels, 44 inches for 24-inch barrels)
- Bore guide specific to your AR-15 upper receiver
- Bronze brushes in .22 caliber
- Cotton patches (2.5-inch squares work well)
- Quality copper solvent (Shooter’s Choice, Montana X-Treme, or similar)
- Gun oil or CLP
- Chamber cleaning swabs
- 20-40 rounds of quality ammo for break-in
- Torque wrench (if removing/installing barrel)
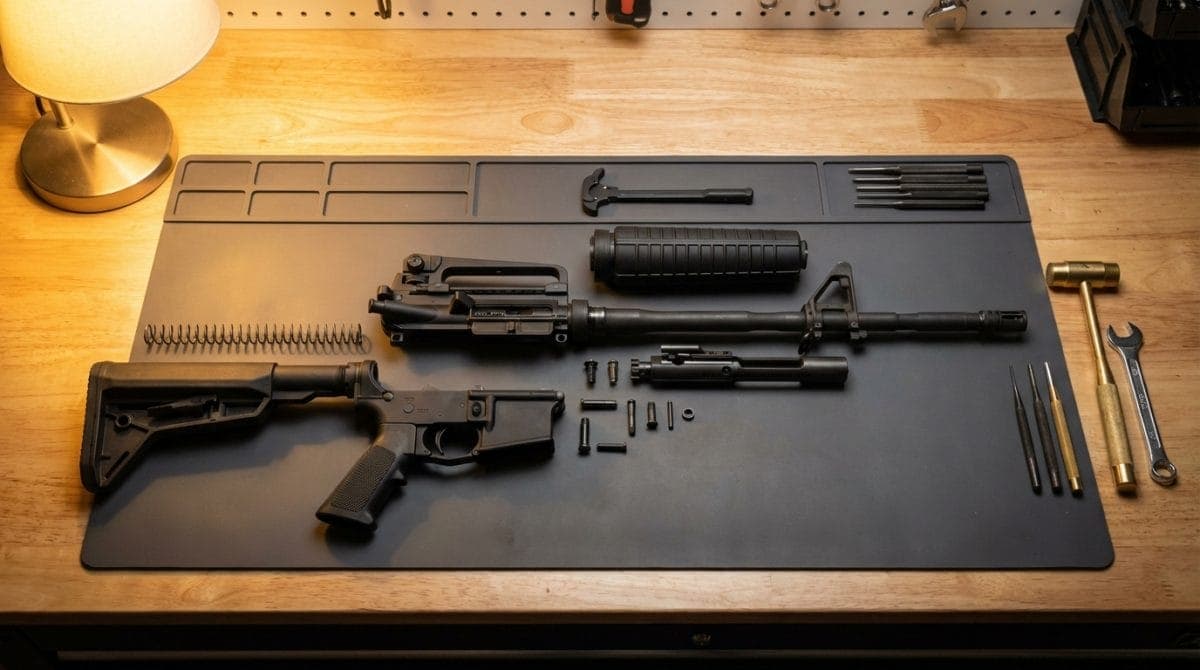
Complete Parts List for Barrel Installation
If you’re installing a new barrel before break-in, you’ll need these components:
- AR-15 Barrel (your choice of length and profile)
- Barrel Nut (typically included with handguard)
- Gas Block (0.750″ for most profiles, 0.625″ for pencil barrels)
- Gas Tube (carbine, mid-length, or rifle length)
- Upper Receiver
- Handguard and mounting hardware
- Roll pin for gas tube (typically 5/64″ x 5/16″)
- Anti-seize compound or Aeroshell 33MS grease
The Proven AR-15 Barrel Break-In Procedure
This procedure balances thoroughness with practicality, typically requiring 20-30 rounds total:
Phase 1: Initial Conditioning (Rounds 1-5)
Step 1: Clean the barrel completely before firing. New barrels often contain preservative oils or machining residue. Run a solvent-soaked patch through the bore, followed by dry patches until clean.
Step 2: Fire one round, then clean the barrel thoroughly:
- Run a wet patch with copper solvent through the bore
- Let it soak for 2-3 minutes
- Push a bronze brush through the bore 5-10 times
- Follow with wet patches until no blue/green color appears
- Dry patch until clean
- Apply a light coat of gun oil
Step 3: Repeat this single-shot-and-clean process for rounds 2 through 5. You’ll notice cleaning becomes progressively easier as the bore smooths out.
Phase 2: Extended Conditioning (Rounds 6-20)
Step 4: Fire 3-round groups, cleaning between each group using the same process. This allows some fouling to build up and work on remaining imperfections while still preventing excessive copper buildup.
Step 5: After round 20, perform a thorough cleaning and inspect the bore. Most barrels show significant improvement by this point.
Phase 3: Final Seasoning (Optional)
For match-grade barrels or maximum accuracy potential, continue with 5-shot groups, cleaning between each group for another 20 rounds. This extended process can further refine the bore, though improvements become marginal.
Critical Measurements and Specifications
When installing a new barrel before break-in, these torque specifications ensure proper function:
| Component | Torque Specification | Notes |
|---|---|---|
| Barrel Nut | 30-80 ft-lbs | Typically 35-40 ft-lbs, align gas tube hole |
| Gas Block Screws | 30-35 in-lbs | Use thread locker on set screws |
| Handguard Screws | 15-25 in-lbs | Check manufacturer specifications |
Common Mistakes to Avoid
These errors can compromise your break-in process or damage your new barrel:
Over-cleaning: Excessive bronze brush use can actually wear the bore prematurely. Limit brush strokes to 10-15 passes per cleaning session.
Wrong cleaning direction: Always clean from chamber to muzzle when possible. This prevents pushing debris into the action and maintains crown integrity.
Neglecting the chamber: Carbon buildup in the chamber can cause extraction issues. Use chamber cleaning swabs with each bore cleaning.
Using cheap ammo: Budget steel-cased ammo often uses bi-metal jackets that increase bore wear. Use quality brass-cased ammo for break-in, typically 55-grain or 62-grain FMJ loads.
Rushing the process: Let the barrel cool between shots, especially during the single-shot phase. Excessive heat can affect the conditioning process and accuracy testing.
Evaluating Break-In Success
A properly broken-in AR-15 barrel exhibits these characteristics:
- Easier cleaning with less copper fouling visible on patches
- More consistent group sizes, typically improving by 0.25-0.5 MOA
- Stabilized velocity readings (usually within 20-30 fps spread)
- Reduced first-round flyers from a clean bore
Track your rifle’s performance by shooting 5-shot groups at 100 yards before and after break-in. Quality barrels typically shoot 1-2 MOA groups with match ammo after proper break-in.
Alternative Perspectives from the Community
The shooting community remains divided on barrel break-in necessity. Many experienced shooters report excellent accuracy without any special procedure, simply shooting and cleaning normally. Others document measurable improvements, particularly with custom match barrels.
Factory barrels from major manufacturers often come pre-lapped, reducing break-in benefits. However, the process still helps establish good cleaning habits and baseline performance metrics for your specific rifle.
Maintenance After Break-In
Once your barrel is broken in, maintain its performance with regular cleaning:
- Clean every 200-500 rounds for general use
- Clean every 50-100 rounds for precision shooting
- Always clean before long-term storage
- Monitor copper fouling levels to determine optimal cleaning intervals
Build This on AR15 Outfitters
Ready to build an AR-15 with a quality barrel that deserves proper break-in? Visit AR15 Outfitters’ AR-15 Builder to configure your rifle with components from trusted manufacturers. Our builder tool lets you compare prices across retailers, ensure parts compatibility, and track your build costs in real-time.
Select from match-grade barrels by Criterion, Faxon, BA, and other premium manufacturers. Each barrel listing includes specifications for twist rate, gas system length, and profile to help you make an informed decision. Whether building a precision rifle or general-purpose carbine, proper barrel selection and break-in will maximize your AR-15’s potential.
Disclaimer: AR15 Outfitters does not sell firearms. This site is an information and affiliate resource only. All purchases are completed through licensed retailers. Always comply with all federal, state, and local laws when building or purchasing firearms and firearm components.