How to Time a Muzzle Brake on an AR-15
By AR-15 Outfitters · April 10, 2026
AR15 Outfitters may earn a commission on purchases made through links in this guide. This does not affect pricing or our recommendations.
Properly timing a muzzle brake on your AR-15 ensures optimal performance and prevents gas from venting into your face during shooting. Whether you’re installing a muzzle brake, compensator, or flash hider, understanding how to time your muzzle device correctly makes the difference between a comfortable shooting experience and one that leaves you squinting through gas clouds.
What Does It Mean to Time a Muzzle Brake?
Timing a muzzle brake refers to orienting the device so its ports align correctly with your rifle. Most muzzle brakes feature ports on the top and sides that direct gas upward and outward to reduce recoil and muzzle rise. When you time a muzzle brake properly, these ports face the correct directions: typically straight up at 12 o’clock for the top ports.
An incorrectly timed brake might have ports facing downward or at odd angles, which can kick up dust when shooting prone or direct gas toward your optics. In most cases, proper timing ensures your muzzle device functions as designed while maintaining shooter comfort.
Parts and Tools Needed
Required Parts:
- Muzzle brake or compensator (1/2×28 thread for 5.56/.223)
- Crush washer (typically included with muzzle device)
- OR Shim kit (0.001″ to 0.020″ thickness range)
- High-temperature thread locker (optional but recommended)
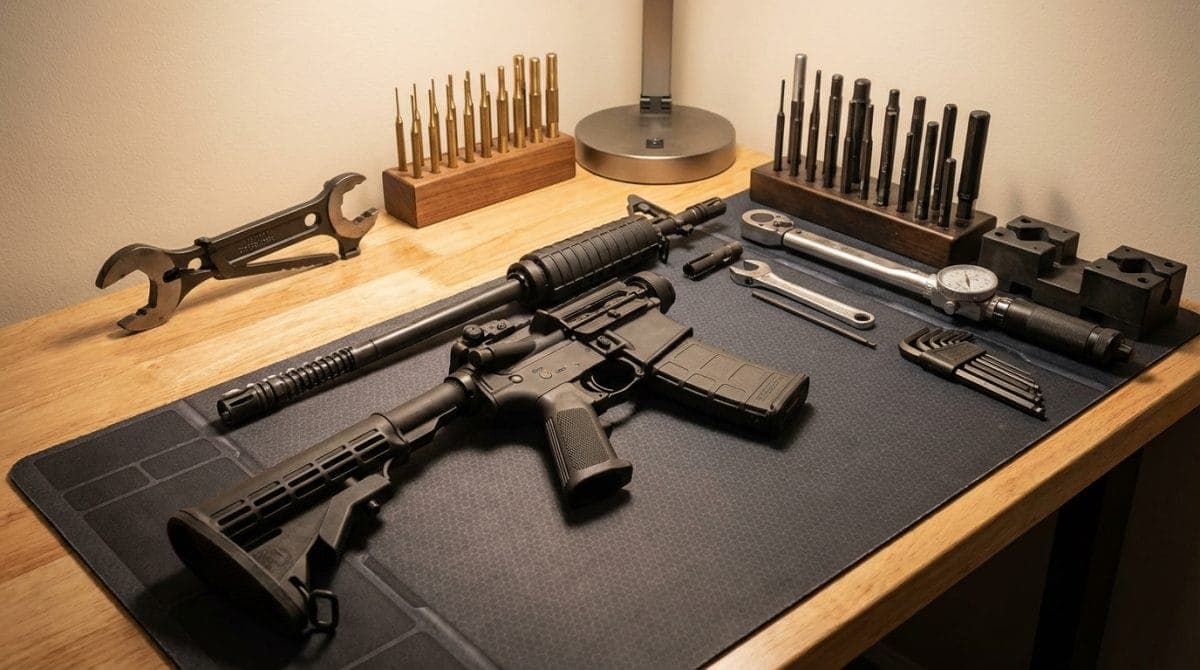
Required Tools:
- Armorer’s wrench or 3/4″ wrench (check your device specifications)
- Barrel vise blocks
- Bench vise
- Torque wrench capable of 15-30 ft-lbs
- Cleaning supplies (solvent and patches)
Crush Washer vs Shims: Which Should You Use?
Crush Washers: These tapered metal washers compress when you tighten the muzzle device, allowing fine adjustment of timing. They’re single-use items that deform permanently during installation. Most AR-15 muzzle devices come with a crush washer.
Shims: Precision-ground metal washers in various thicknesses (typically 0.001″ to 0.020″) that stack to achieve proper timing. Unlike crush washers, you can reuse shims if you remove the device. They provide more consistent alignment and are preferred when mounting suppressors.
For general muzzle brake installation, crush washers work well. However, if you plan to mount a suppressor like a Surefire SOCOM series, use shims to ensure perfect alignment and prevent baffle strikes.
Step-by-Step Installation Process
1. Prepare the Barrel Threads
Clean your barrel threads thoroughly with solvent and a brush. Remove any oil, debris, or old thread locker. Inspect the threads for damage: damaged threads require professional repair before proceeding.
2. Install the Crush Washer or Shims
For Crush Washers: The tapered side faces the muzzle device, while the flat side contacts the barrel shoulder. This orientation allows proper crushing action during tightening.
For Shims: Start with thicker shims against the barrel shoulder, adding thinner ones as needed. This method provides better stability.
3. Thread on the Muzzle Device
Hand-tighten the brake onto the barrel threads. It should thread smoothly without forcing. If you encounter resistance, stop and check for cross-threading or debris.
4. Check Initial Timing
With the device hand-tight, check how far it needs to rotate for proper alignment. Most brakes need between 90 and 270 degrees of additional rotation.
5. Calculate Shim Requirements (If Using Shims)
Use this formula to determine shim thickness:
(Degrees needed ÷ 360) × 0.050″ = Required shim thickness
For example, if you need 180 degrees of rotation:
(180 ÷ 360) × 0.050″ = 0.025″ of shims needed
6. Final Tightening
With Crush Washer: Tighten to 15-20 ft-lbs while monitoring alignment. The washer will crush, allowing fine adjustment. Stop when ports align correctly.
With Shims: Torque to manufacturer specifications, typically 20-30 ft-lbs. The device should stop at proper alignment without additional adjustment.
Common Mistakes to Avoid
- Over-torquing: Exceeding 30 ft-lbs can damage threads or the barrel shoulder
- Reusing crush washers: Once crushed, they lose their adjustment capability
- Ignoring alignment with suppressors: Even slight misalignment can cause baffle strikes
- Using crush washers with QD mounts: Always use shims with quick-detach suppressor mounts
- Forcing cross-threaded devices: This destroys both barrel and device threads
Does Every Muzzle Device Need Timing?
Not all devices require timing. Flash suppressors like the A2 birdcage need timing to prevent the bottom opening from directing gas downward. Thread protectors and some linear compensators work regardless of orientation. When in doubt, check your device’s manual for specific requirements.
Verifying Proper Installation
| Check Point | What to Look For |
|---|---|
| Port alignment | Top ports at 12 o’clock position |
| Torque specification | 15-30 ft-lbs depending on device |
| Thread engagement | Minimum 3 full thread rotations |
| Washer/shim contact | Full 360-degree contact with barrel shoulder |
Build This on AR15 Outfitters
Ready to install a perfectly timed muzzle brake on your AR-15? Head to AR15 Outfitters’ builder tool to compare prices on muzzle devices, crush washers, and shim kits from multiple retailers. The builder ensures compatibility between your barrel thread pitch and muzzle device while finding you the best deals across the internet.
Whether you’re building your first AR-15 or upgrading an existing rifle, proper muzzle device timing transforms your shooting experience. Take your time during installation, use the correct tools and torque specifications, and enjoy the improved recoil management and muzzle control that a well-timed brake provides.
Disclaimer: AR15 Outfitters does not sell firearms. This site is an information and affiliate resource only. All purchases are completed through licensed retailers. Always comply with all federal, state, and local laws when building or purchasing firearms and firearm components.